Securing your home doesn’t have to be a complex or expensive task. With modern technology, learning how to install a diy home alarm system is more accessible than ever. This guide provides a complete, step-by-step walkthrough, from initial planning to final testing. We will help you build a reliable security shield for your home, giving you confidence and peace of mind without needing a professional installer.
Contents
Planning your diy home security layout

Create your home security floor plan
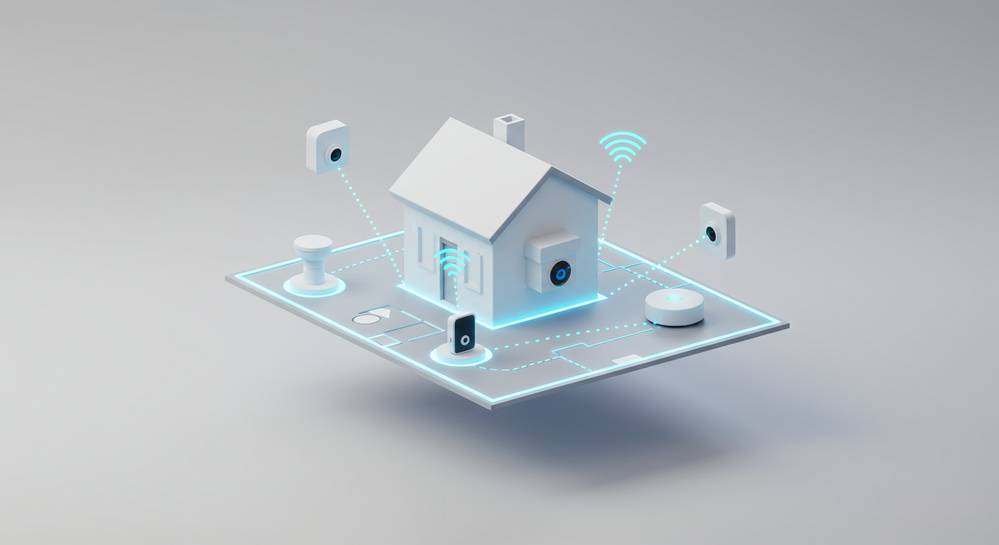
Before you touch a single sensor, the first step in learning how to install a diy home alarm system is creating a smart plan. A well-thought-out layout prevents weak spots and saves you from future headaches. Start by sketching a basic floor plan of your home. This map will be your guide for placing every component effectively.
Key considerations for your security map
- Prioritize all primary entryways, including front, back, and garage doors. These are the most common targets and require contact sensors without exception.
- Secure accessible ground-floor windows with contact sensors. Pay extra attention to windows in less-used rooms or those hidden from street view, as they are prime targets.
- Install motion sensors in central hallways or living rooms. An intruder would likely have to pass through these areas. Position them away from direct sunlight and heat sources to avoid false alarms.
- Place the base station centrally for a strong signal to all devices. It should be close to your Wi-Fi router for a reliable connection, forming the core of your camera home security system.
Step by step guide to installing the main components
With your plan in hand, it is time for the physical installation. This is the practical part of how to install a diy home alarm system. Most kits use adhesive strips for easy setup, but a drill provides a more secure mount. Always follow the manufacturer’s guide, a core concept of undefined.
Installing the base station
Plug your base station into power in its designated central location. Connect it to your router with an Ethernet cable if needed, though many systems are Wi-Fi only. Wait for the status light to show it is ready for setup.
Mounting contact sensors
A contact sensor has two parts for the frame and the door itself. Clean both surfaces before applying the adhesive to ensure a lasting bond. Place the parts so they are nearly touching when closed. The alarm triggers when this connection is broken.
Placing motion detectors
For maximum effectiveness, mount motion sensors high in a corner, about 7 to 8 feet from the floor. This gives them a wide vantage point over the entire space. Angle them away from heat sources or direct sunlight to prevent false triggers.
Connecting and configuring your smart alarm system

Once the hardware is in place, the next step is bringing your system to life. This digital setup is a critical part of knowing how to install a diy home alarm system. You will customize everything through the companion app on your smartphone. This is where you tailor the system to your specific lifestyle and needs.
- Pairing Components: The app guides you through connecting each sensor to the base station. Name each component logically, like Front Door or Living Room Motion. This ensures you know exactly where a potential issue is happening instantly.
- Setting System Modes: Configure your alarm modes for different situations. You will typically set up Home mode for when you are inside, Away mode for when you leave, and a Disarmed mode. This provides flexible security.
- User Access and Notifications: Add family members as users and customize who receives alerts. Set up push notifications, emails, or texts for specific events, so you are always informed without being overwhelmed.
- Smart Home Integration: Connect your alarm to undefined like Amazon Alexa or Google Assistant. This allows for convenient voice commands to arm or disarm your system.
Final testing and long term maintenance tips

An alarm system is only effective if it works correctly when you need it. The final step in knowing how to install a diy home alarm system is thorough testing. After configuration, you must test every component and commit to a simple maintenance routine for long term reliability.
Performing a full system test
Most alarm apps have a Test Mode. This lets you trigger sensors without dispatching emergency services. Activate this mode. Go around your home and open each protected door and window. Walk in front of every motion detector. The base station or app should confirm each sensor as it is triggered. This verifies that everything is connected and communicating properly.
Long term maintenance checklist
- Battery Replacement: Sensor batteries typically last one to three years. Your app will likely notify you when a battery is low, but it is good practice to check levels quarterly.
- Sensor Cleaning: Gently wipe down motion sensor lenses and contact sensors with a microfiber cloth every few months. This removes dust that could interfere with their operation.
- Firmware Updates: Keep your base station and app updated to the latest versions. These updates often include critical security patches and new features to keep your system secure.
Installing a DIY home alarm is a highly achievable project that empowers you to enhance your home’s security on your own terms. By following a clear plan for placement, carefully installing each component, and regularly testing the system, you can build a reliable and effective security solution. For more guides on smart home technology and gadgets, explore Home Gadget Digest.


+ There are no comments
Add yours